Ready to give your kitchen cabinets a major facelift? Awesome! This is one of the best DIY projects to totally change up your space. It all comes down to picking your method—painting, staining, or refacing—and then getting your hands dirty with some solid prep work to get a finish that looks amazing and lasts.
Your Guide to a DIY Kitchen Cabinet Makeover
So, you want a stunning new kitchen without the scary price tag of a full remodel? You're in the right place! Refinishing your cabinets is the secret weapon for adding serious value and personality to your home. It’s a project you can totally conquer, and I’m here to guide you every step of the way.
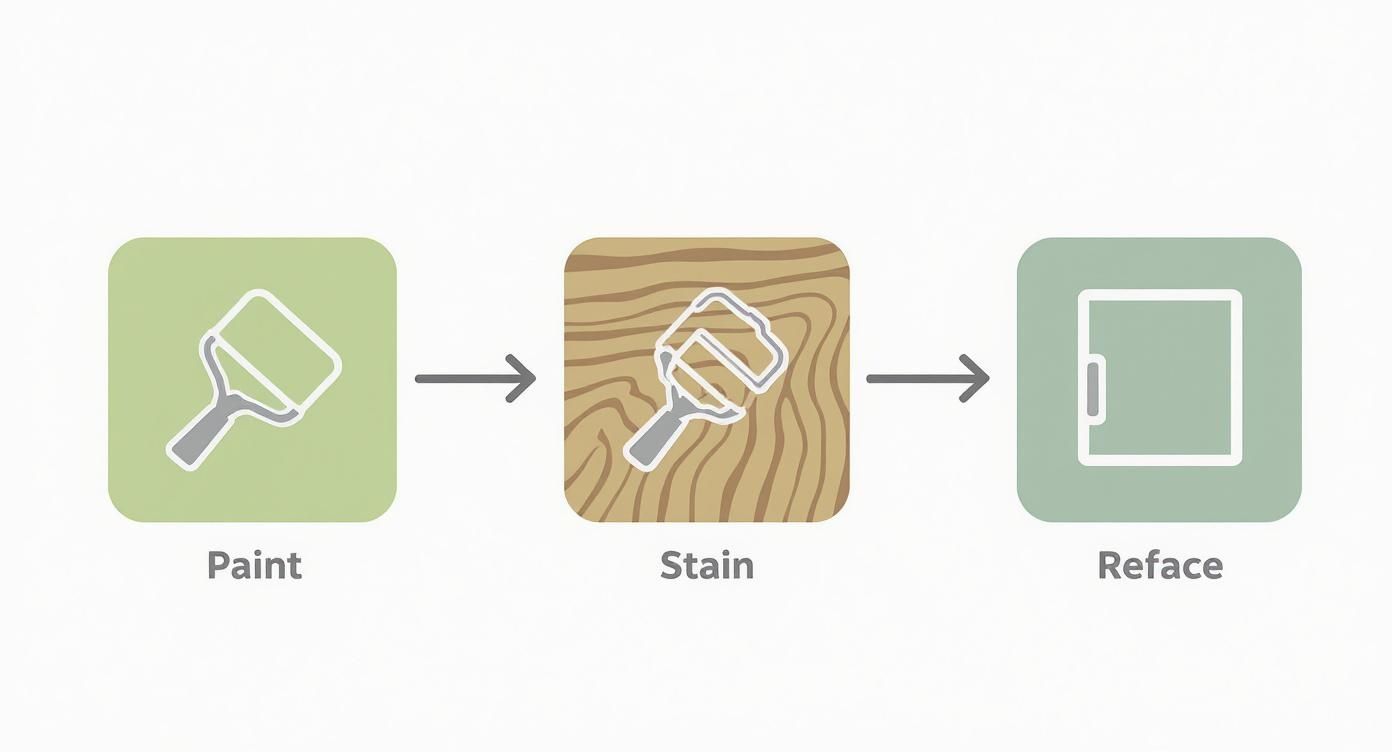
First up, you have a few main options. This infographic lays them out perfectly.

Each path has its own vibe and effort level. And this isn't some tiny trend! Homeowners are catching on. Remodeling projects make up about 83% of the cabinet market. People are choosing to refinish because it saves a boatload of time and money. Want to see the data? You can explore the latest kitchen cabinet market trends and see for yourself.
Let's figure out which route is best for your kitchen.
Cabinet Refinishing Options at a Glance
This little table is your cheat sheet. It’s a quick look at the three main ways to update your cabinets. You can easily compare the effort, cost, and what each method is great for.
| Refinishing Method | Best For | Effort Level | Typical Cost |
|---|---|---|---|
| Painting | Creating a clean, modern look; colour variety | High | $$ |
| Staining | Enhancing natural wood grain and beauty | Medium | $ |
| Refacing | A brand-new look without replacing cabinets | Low (DIY) | $$$ |
Your best bet depends on your current cabinets, your budget, and the dream look you're going for.
Here’s a quick breakdown:
- Painting: This is your ticket to a fresh, modern vibe. You get endless colour choices!
- Staining: Love your wood cabinets? Staining enhances that natural grain and warmth.
- Refacing: This is the most dramatic change. You get brand-new doors and drawer fronts.
Choosing the right path is super important. To see what a pro-level spray finish looks like, check out our kitchen cabinet spray painting portfolio.
Even if you’re tackling this yourself, a quick chat with an expert can be a lifesaver. Give us a call for a free consultation! We can help you plan your project and avoid common pitfalls before you even start.
Assembling Your Cabinet Refinishing Toolkit
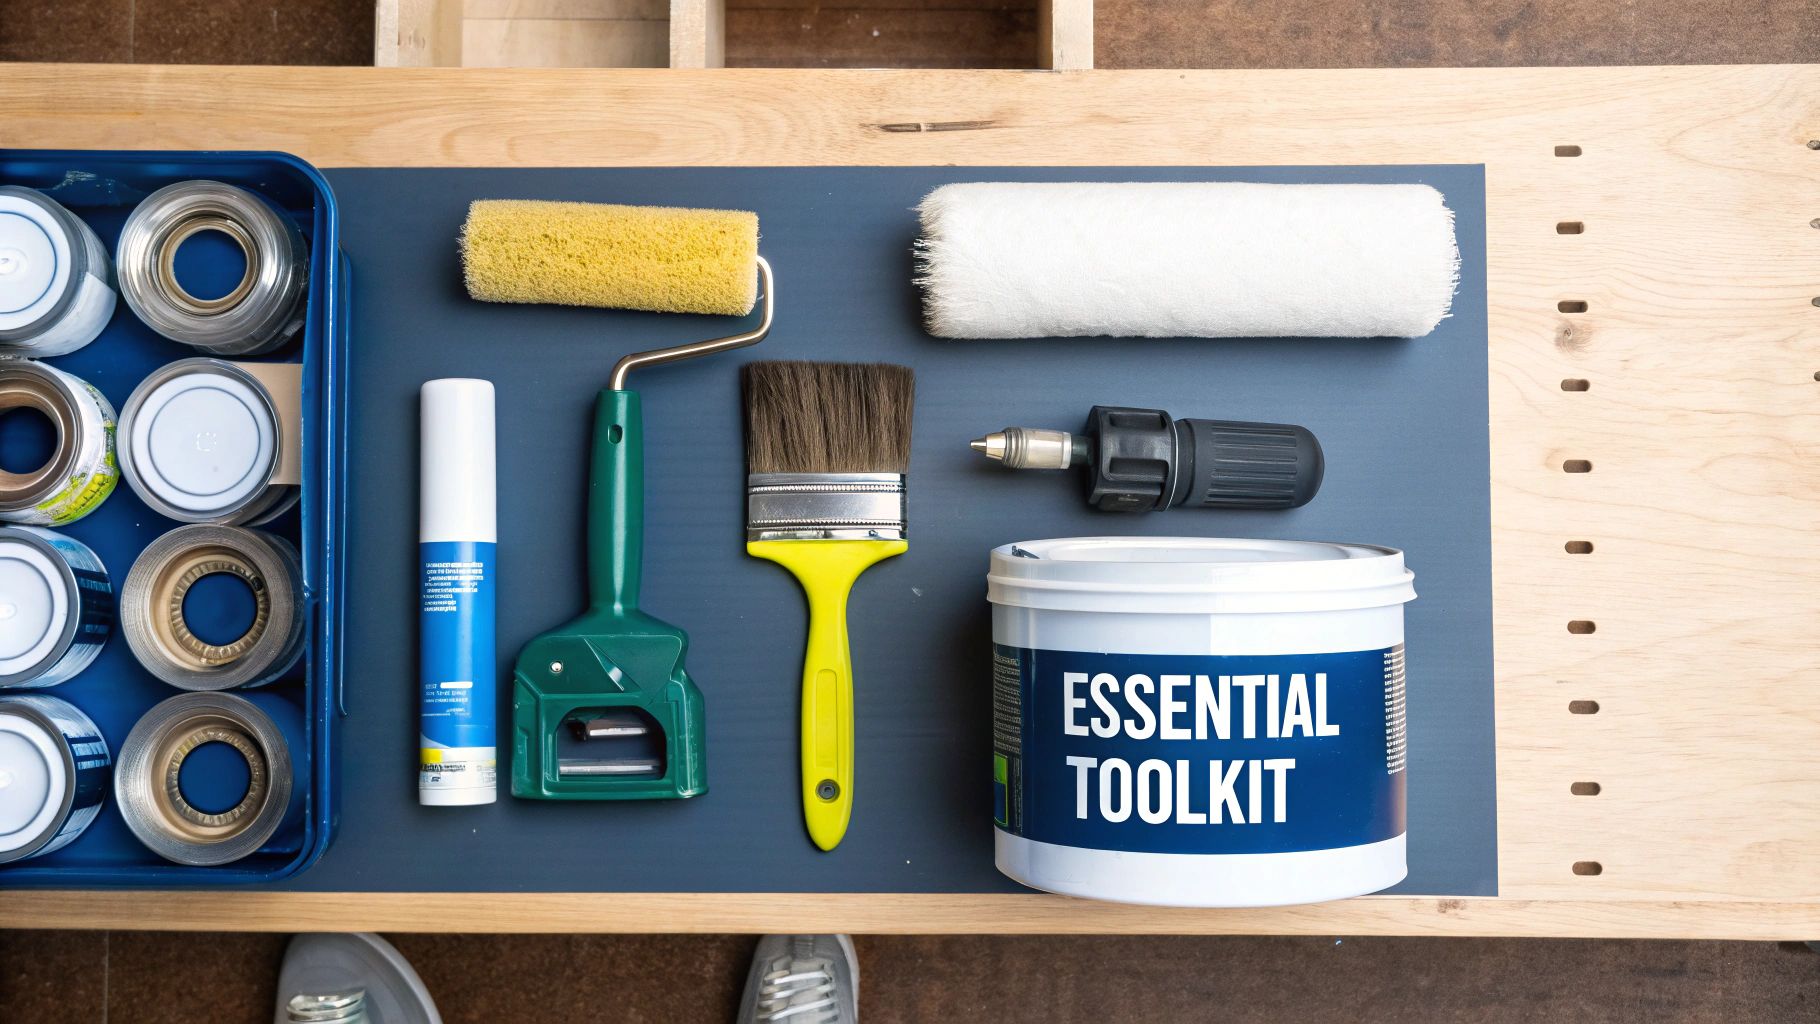
Okay, let's get you geared up! Before you even touch a screwdriver, you need the right tools. Seriously, having your toolkit ready is half the battle. It saves you from those annoying, last-minute trips to the hardware store.
Think of this as your project battle plan. I've seen folks try to skimp on supplies, and trust me, it always shows in the final product. Here’s what you actually need, based on my countless hours working on cabinets just like yours.

Your Go-To Shopping List
- A Real Degreaser: Don't just use dish soap. Grab a TSP (trisodium phosphate) substitute. It’s a powerhouse that cuts through years of kitchen grease. This makes a huge difference.
- Sandpaper/Sander: A sanding block works if you're patient. But a small orbital sander will be your new best friend.
- Use 120-grit to scuff the surface.
- Use 220-grit for that silky-smooth finish between paint coats.
- Quality Brushes & Rollers: Don't cheap out here!
- A good 2-inch angled brush gets into corners perfectly.
- A 4-inch foam roller gives a smooth finish on flat areas.
- This combo is my secret weapon against brush strokes.
- The Essentials: Painter’s tape and tack cloths are non-negotiable. Good tape equals clean lines. A tack cloth removes every last bit of dust before you paint.
Choosing the right paint is also key. You need something that cures hard and can handle daily kitchen chaos. For some awesome options, check out our guide on the 5 best interior paints for your home.
The Secret to a Flawless Finish Is All in the Prep
Okay, listen up, because this is the most important part. Anyone can slap paint on a door. But the pros know that 80% of a great finish comes from perfect prep work. If you skip steps here, you're asking for peeling paint and a world of regret.
I’ll walk you through it. Let's make it simple. Get this right, and your cabinets will look amazing and last for years. A little extra effort now saves you from major headaches later.

Cleaning and Degreasing
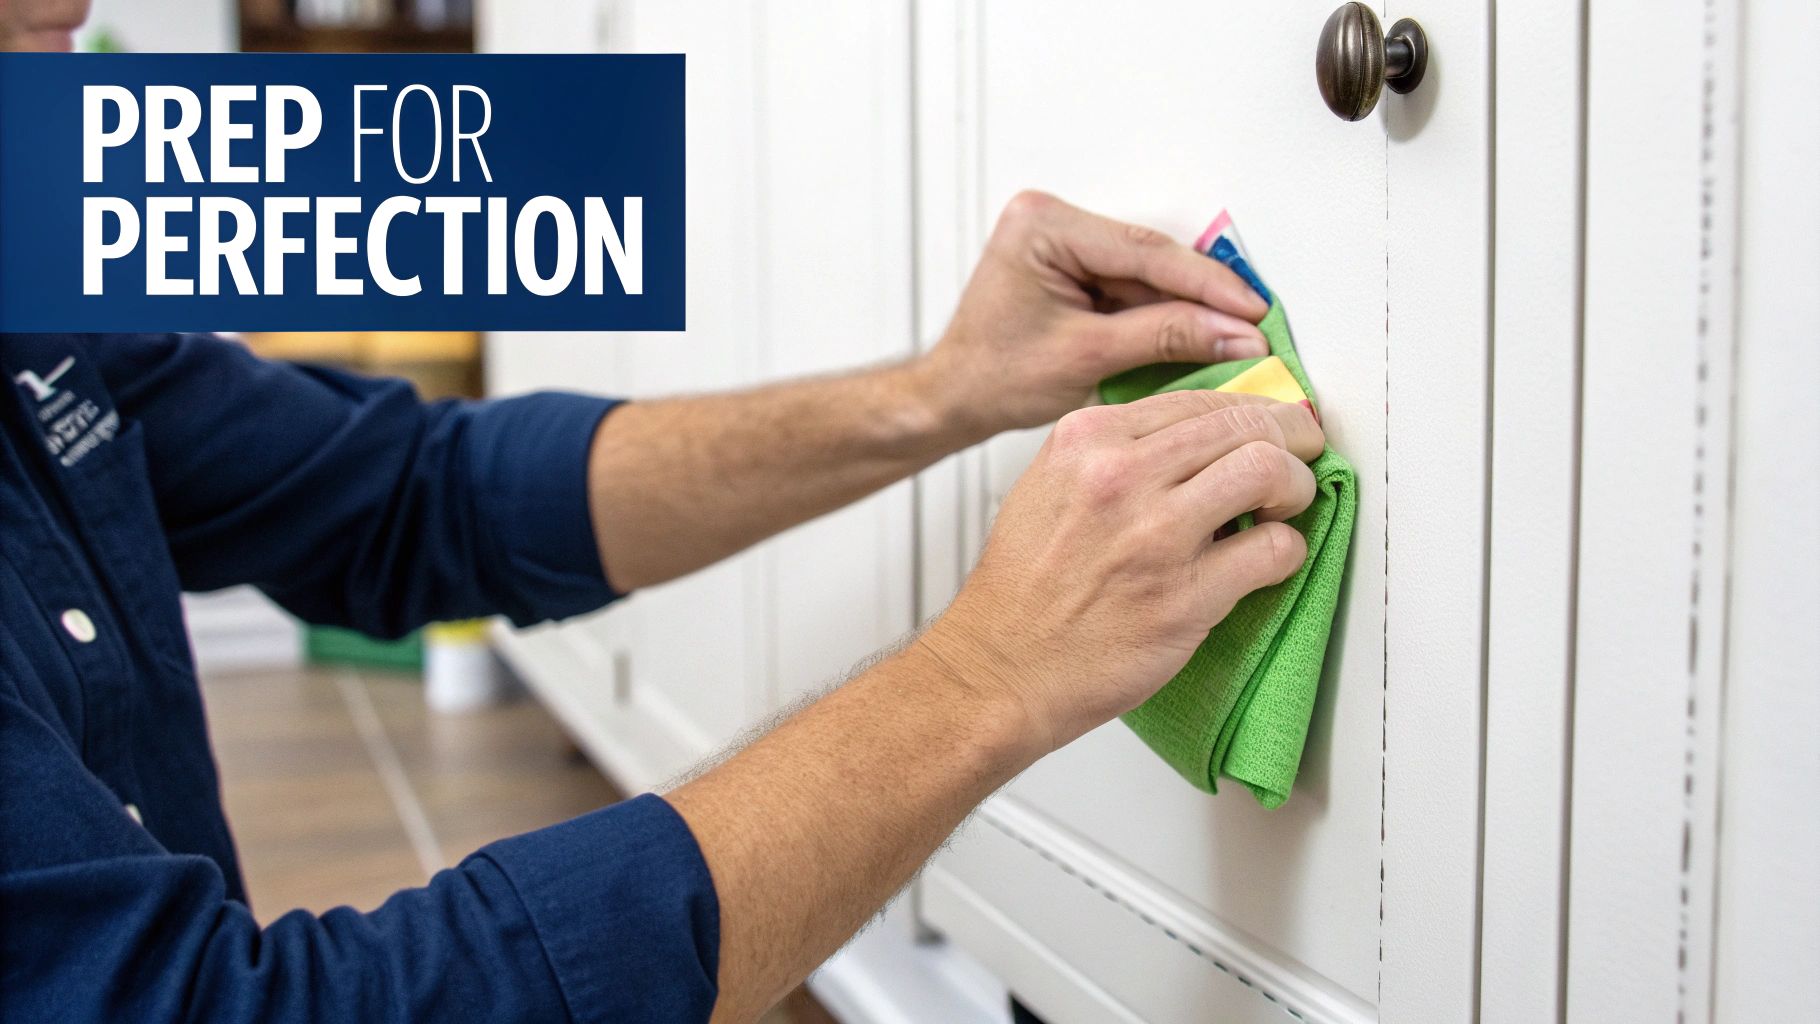
Your cabinets have seen it all—grease splatters, steam, fingerprints. You have to get all that gunk off.
- Scrub everything. Use a good degreaser (like a TSP substitute) and give every single surface a good cleaning. This is a must-do step if you want your paint to actually stick.
- Wipe it down. After scrubbing, use a clean, damp cloth to wipe off any leftover cleaner. You want a totally clean surface.
Sanding for Success
Sanding isn't about stripping off the old finish. You're just roughing up the surface so the new primer has something to grab onto. It’s like giving the paint a good handshake.
- A quick, light sand with 120-grit paper is all you need.
- Don't go crazy! Just scuff the shine off.
- When you're done, wipe away all the dust with a tack cloth. All of it.
My #1 Pro Tip: Label everything! As you take off doors and hinges, put a piece of tape with a number inside the cabinet and on the matching door. This turns reassembly from a frustrating puzzle into a simple matching game. You’ll thank me later.
Feeling a bit overwhelmed? It's totally normal. If you want to chat through the process before you start, just give us a call for a free consultation. We love sharing our know-how!
For more general tips, our guide on how to prepare a room for painting has some great advice that works here, too.
Applying Paint or Stain Like a Pro
Now for the fun part! With all that prep done, you finally get to see your kitchen transform. Let’s go over the techniques I use every day to get a perfect, pro-level finish.

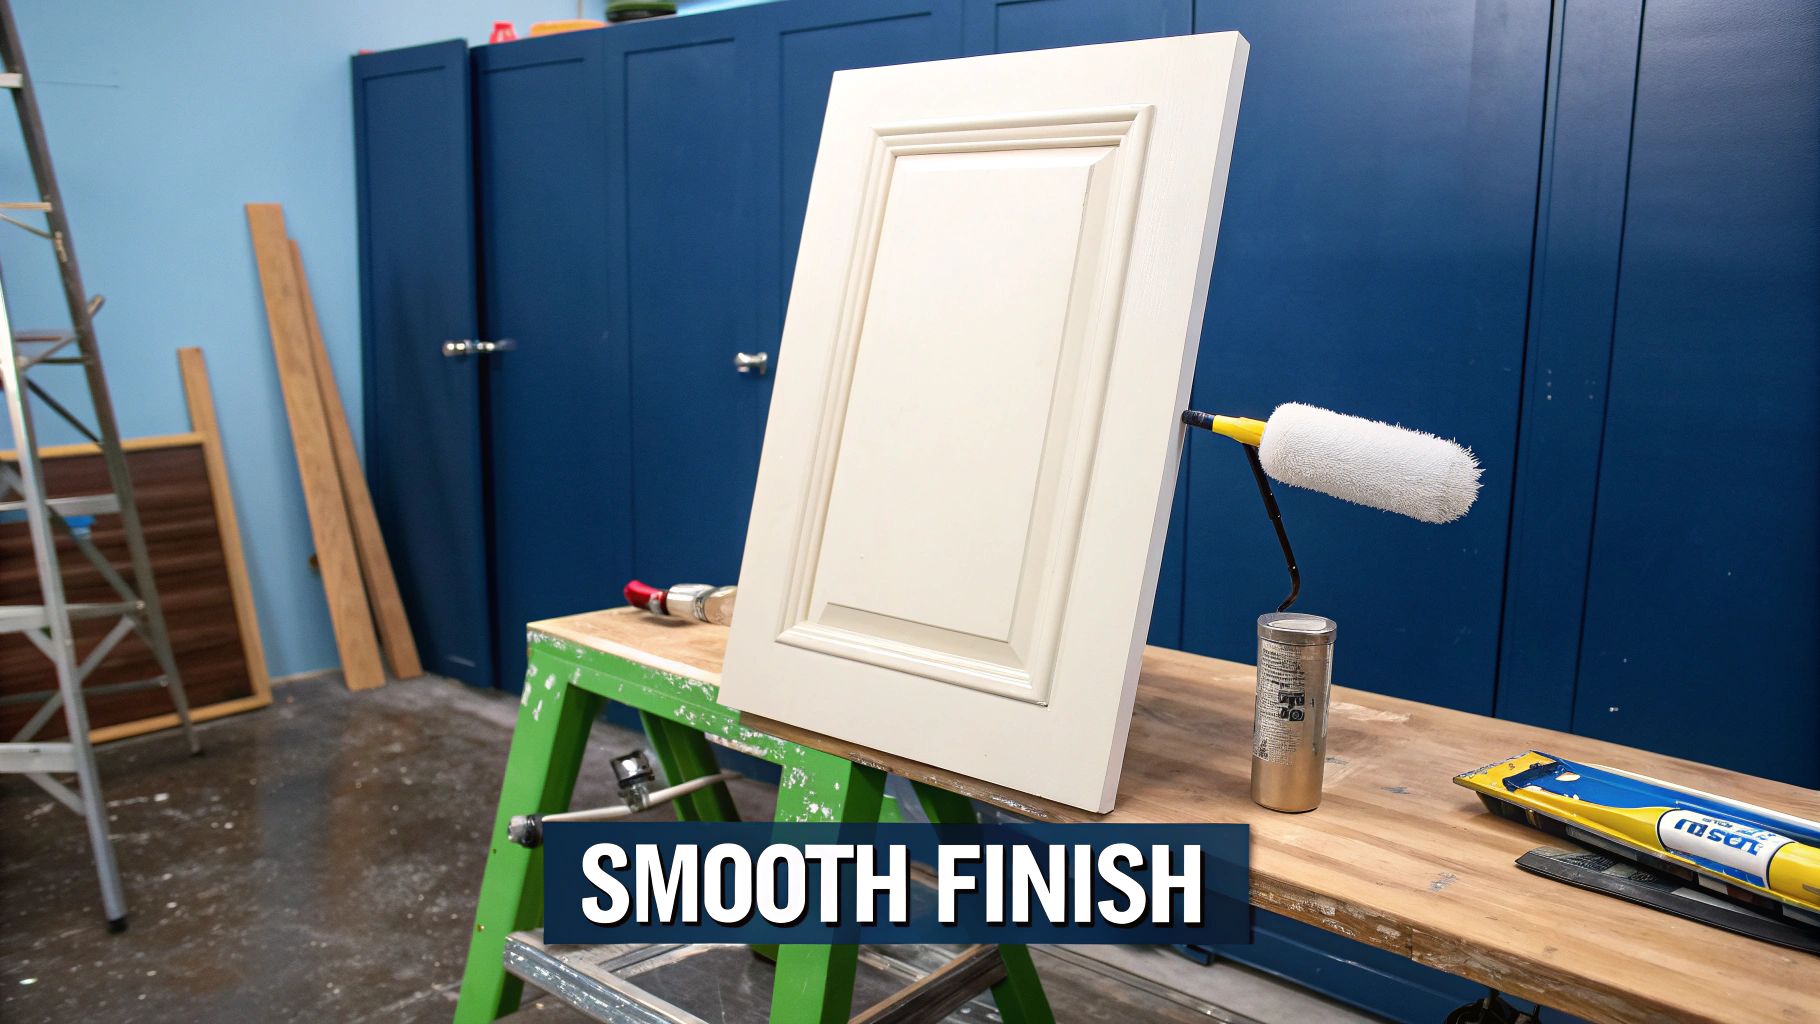
If you're painting, the key is thin, even coats. Don't be tempted to glob on one thick coat. That's how you get drips, a weird texture, and a gummy finish that never fully cures.
- Apply thin coats.
- Two coats of quality cabinet paint is usually the magic number.
- My secret trick: A quick, light sand with 220-grit paper between coats makes the final finish feel like silk.
My Go-To Method for a Brush/Roller Finish:
I use a quality angled brush to "cut in" the detailed areas and corners first. Then, while the paint is still wet, I immediately roll over the flat surfaces with a mini foam roller. This trick levels out the paint and makes brush strokes disappear. It looks so professional!
Looking for a paint-free option? Things like the best vinyl wrap for kitchen cabinets are a quick and affordable way to get a new look.
If you're staining, getting an even colour is everything. Our guide to professional wood staining is full of tips to help you get it right. Staining is a super smart way to refresh your kitchen and change the whole mood of the room.
Feeling nervous about that first coat? Don't be. A quick, free consultation can answer your last-minute questions and give you the confidence to start your transformation.
Curing Time and Reassembly: The Final Steps
You're so close! Your cabinets look fantastic, but don't rush to hang them back up. This is the home stretch, and patience is key.
There’s a big difference between paint being dry to the touch and being fully cured.
- Dry paint won't smudge.
- Cured paint is rock-hard and ready for daily life.
I’ve seen it a million times: people rush this step and end up with nicks and scuffs right away.
Waiting for the Magic to Happen
So, how long do you wait?
- Give your cabinets at least 72 hours before you even think about reinstalling them.
- For maximum durability, paint can take up to 30 days to fully cure.
- You can still use your kitchen, just be extra gentle with the doors for the first few weeks!
While you wait, it's the perfect time to install your new hardware. New handles and pulls are like jewelry for your cabinets. They can totally elevate the final look.
Once everything is cured, putting it all back together is a breeze because you labeled everything, right? The final touch is to master adjusting cabinet doors for perfect alignment to get those perfect, even gaps.
Deciding Between DIY and Calling a Professional
Okay, let's be real for a second. Refinishing your cabinets yourself can be super rewarding. But it’s not for everyone. It all comes down to your time, your skills, and the tools you have.
- Are you a DIY warrior? Do you love detail-oriented projects and have a few weekends to spare? If yes, go for it!
- Is it better to call a pro? If you have tricky thermofoil cabinets, lots of detailed trim, or just want a guaranteed factory-perfect finish, calling a professional is the smart move.
Of course, money is a big factor. DIY saves on labor costs. But hiring a pro might be more affordable than you think, especially when you consider the cost of fixing mistakes. For instance, refacing can be up to 78% cheaper than a full cabinet replacement. You can learn more about cabinet refacing costs to see the numbers.
My best piece of advice: Be honest with yourself about the time and effort this takes. A messy DIY job can cost more to fix than hiring a pro from the start.
Still on the fence? Our guide on the average cost to paint kitchen cabinets can help you crunch the numbers. And hey, we're always here for a free consultation. Give us a call, and we can help you figure out the best path forward—no strings attached.
Have Questions About Refinishing Cabinets? We’ve Got Answers
Thinking about this project is exciting, but it’s totally normal to have questions before you start. Most people do!
Over the years, I've heard every question in the book. I’ve put together the most common ones I get asked, with practical answers straight from my own experience. This should help you feel confident and ready to roll.
Article created using Outrank

